What is software RIP?
Mimaki Sotware RIP 'RasterLink 5/6/7'
Can I start printing after image file creation? No, the image must be converted before printing.
Raster Image Processor (RIP) converts the image file into the raster image file for inkjet printing.
RasterLink is capable of rasterization by itself and therefore is named 'Software RIP'.
In addition, RasterLink has various tools to maximize the performance of Mimaki inkjet printers.
* RasterLink 5 is used for descriptions. Click here for a list of Mimaki's software RIPs.

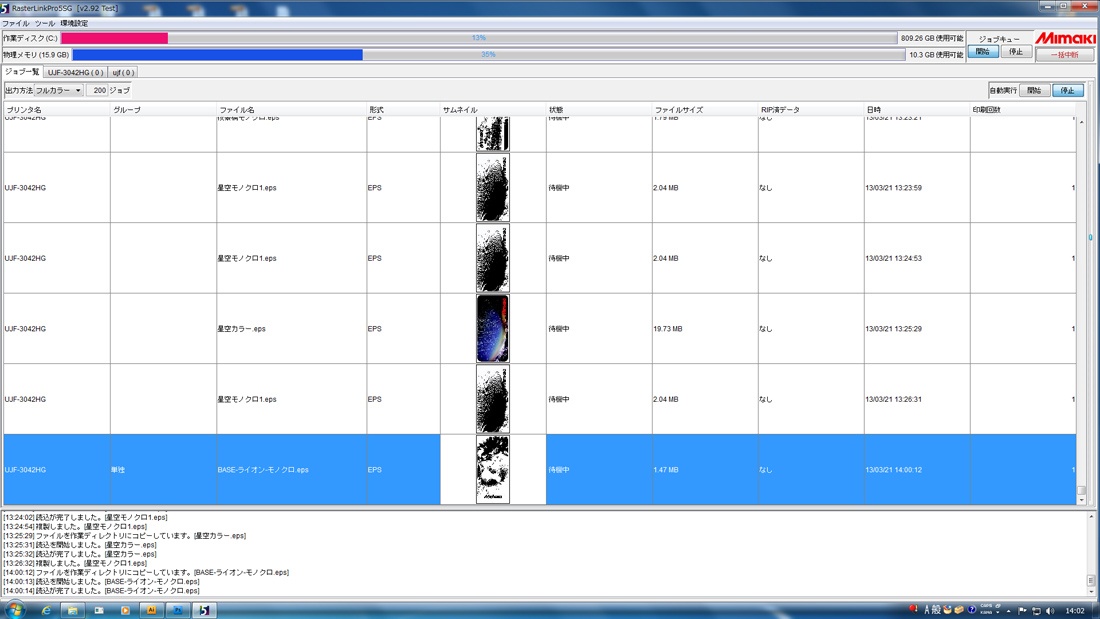
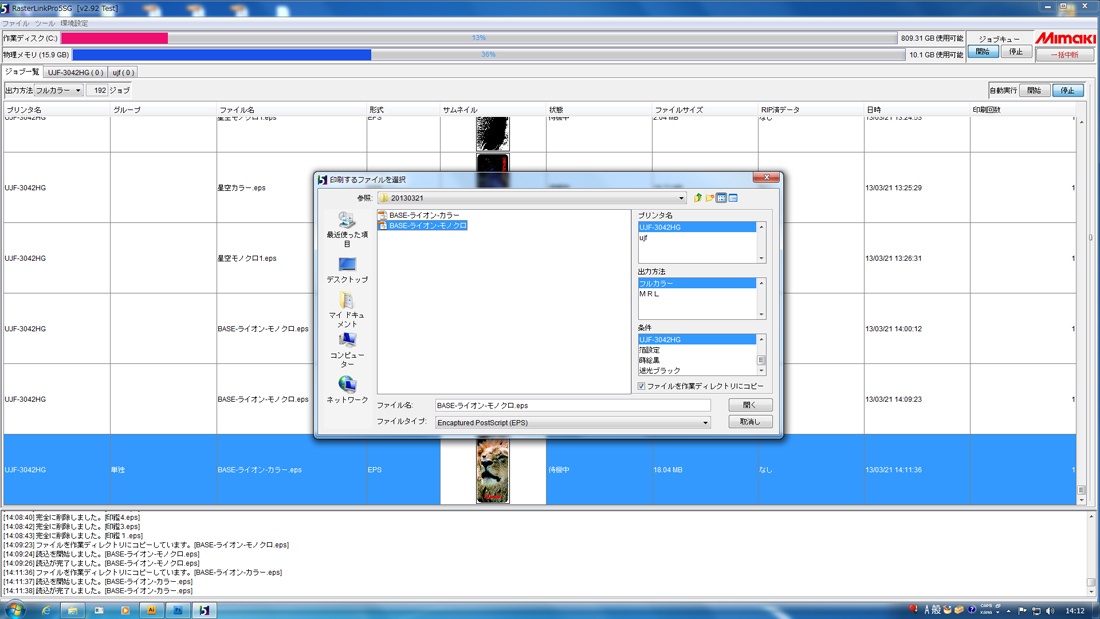
Read the files
- Prepare color and duotone image files.
Please click here for details of duotone image creation. - Select files to read into RasterLink.
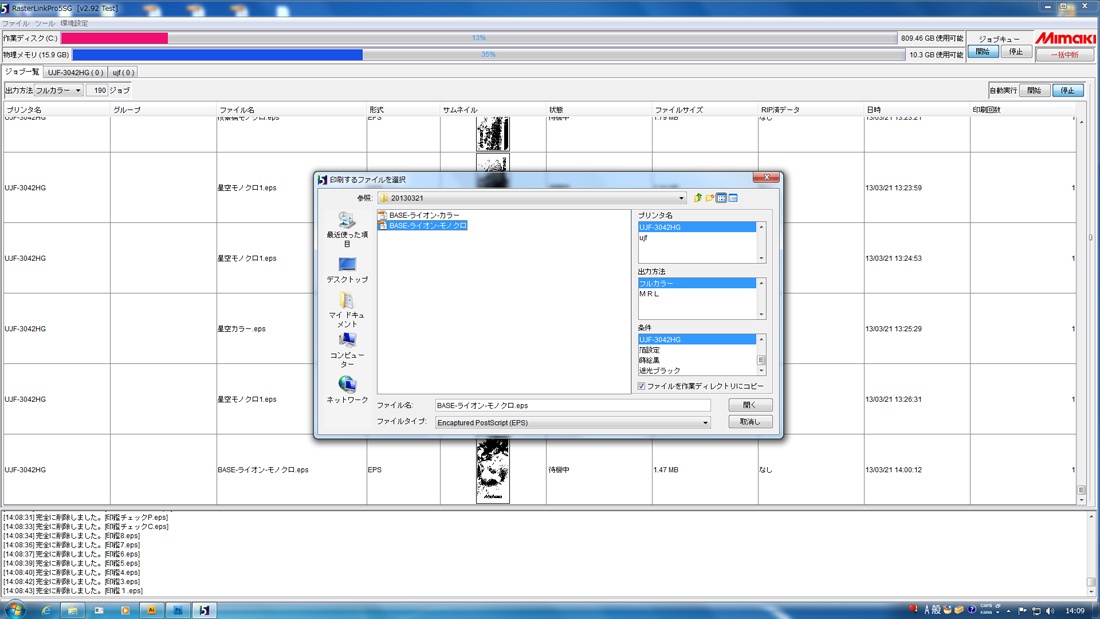
Select [Open] from the [File] menu. "Select file name to print" window is displayed. Select the file to print and then press [Open] icon. - Files are read.
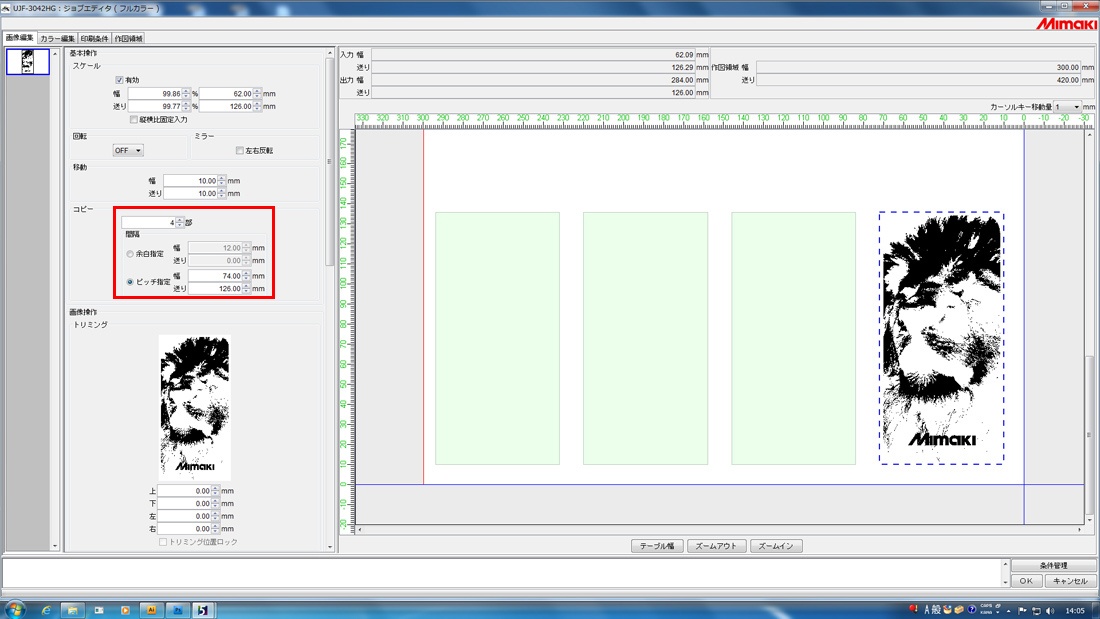
- Edit the files

Create the file for white print layer
The white layer enhances the brightness of foils and glitters which are applied later.
- Read the duotone image file
- Click [Image Edit] and specify print size or position of the image to fit the media/substrate.
- Click [Print Condition] and specify resolutions or the number of pass.
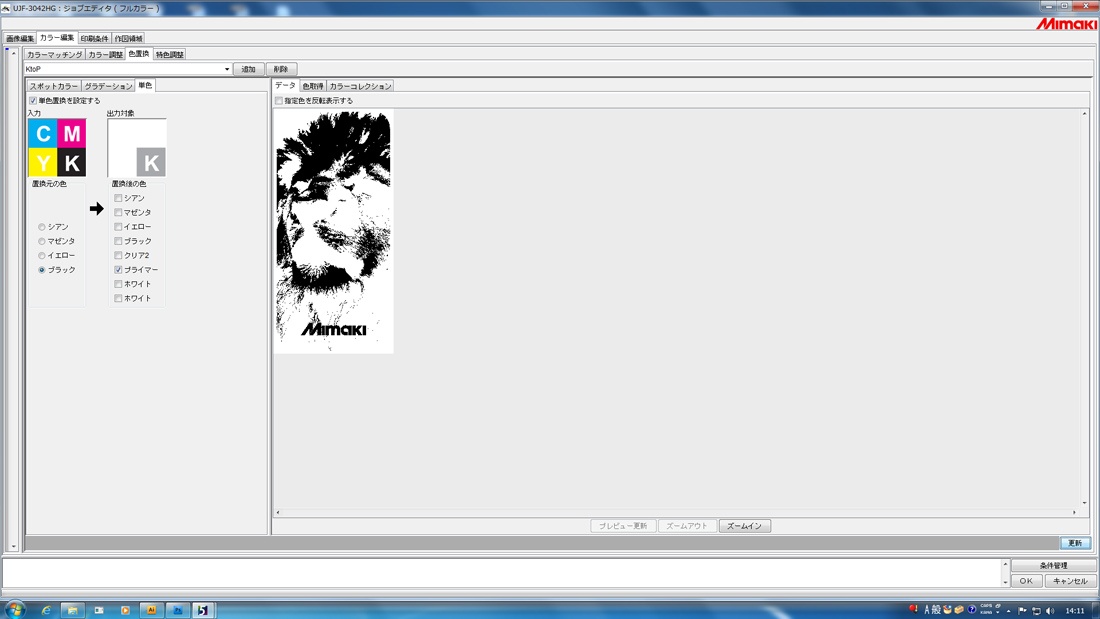
Print conditions: 720dpi×1200dpi、16 pass - Click [Color Edit] → [Color Replacement]→ [Mono Color]
Replace black color area with white. Black color (K/100%) areas are replaced with white color (W/200%) as shown below.


Create the file for primer print layer
The file is prepared for the primer layer that is used as adhesive for foils or glitters.
- Read the duotone image file
- Click [Image Edit] and specify print size or position of the image to fit the media/substrate.
- Click [Print Condition] and specify resolutions or the number of pass.
Print conditions: 720dpi×1200dpi、16 pass - Click [UV mode] and select [User Definition], and then select 23% of [Illumination] level .
- Click [Color Edit] → [Color Replacement]→ [Mono Color]
Black color (K/100%) areas are replaced with primer (P/100%) as shown below.

Create the file for color print layer
- Read the color image file
- Click [Image Edit] and specify print size or position of the image to fit the media/substrate.
- Click [Print Condition] and specify resolutions or the number of pass.
Print conditions: 720dpi×1200dpi、16 pass - Click [Color Edit] → [Color Adjustment] → [Density]
Increase ink density between 10 to 20%.。


Create the file for clear print layer
The file is prepared for the clear coating layer.
- Read the color image file
- Click [Image Edit] and specify print size or position of the image to fit the media/substrate.
- Click [Print Condition] and specify resolutions or the number of pass.
Print conditions: 720dpi×1200dpi、16 pass - Click [UV mode] and select [Panel Setting], and then select [Thickness vigor print].
- Click [Color Edit] → [Color Replacement]→ [Mono Color]
Replace black color area with clear. Black color (K/100%) areas are replaced with clear (CL/100%) as shown below.


All files are prepared.

Printing process
Finally, all files are ready to print!
These files are used for special printing processes "Digital Foiling" and "Digital MAKIE" which provide briliant surface finishes and add values to the products.
Both of process cannot be achieved by the ordinary inkjet printers.

